Direct-To-Fabric (DTF) transfers are becoming increasingly popular for customizing apparel for businesses. With DTF transfers, you can create stunning and unique designs to help your business stand out. Here is how to create custom DTF transfers for your clothing business.
1. Start with a design: Before starting, think about your intended purpose for the transfer and create a design that is visually appealing. Once you have a design, you can use a software program such as Adobe Photoshop to help you perfect the design.
To get more detailed information about custom dtf transfers, you may check blu ridge design co .
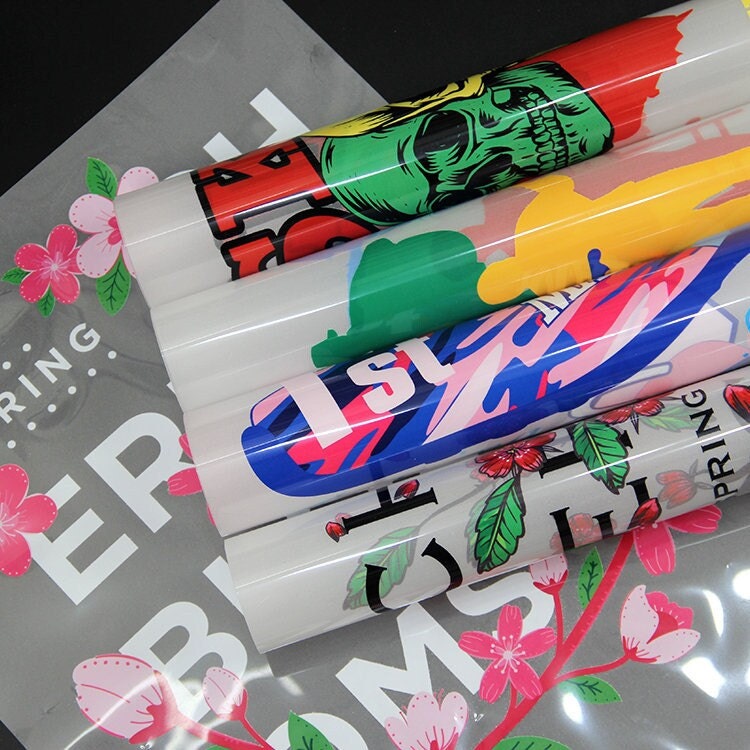
Image Source : Google
2. Choose the right transfer paper: Once you have a design, you need to choose the right transfer paper. DTF transfers come in a variety of materials including vinyl, flock, and glitter. Choose a material that best fits your design and the type of clothing you will be transferring it to.
3. Print the transfer: Print the transfer onto the transfer paper using an inkjet printer. Be sure to use a printer that has been specifically designed for DTF transfers. Once you have printed the transfer, you will need to cut it to size.
4. Heat press the transfer: Before applying the transfer to the clothing, you will need to heat press it. This will help the transfer adhere better and last longer. Place the transfer onto the clothing and press it for the amount of time instructed on the transfer paper’s packaging.
5. Peel the transfer: Once the transfer has been pressed, you will need to peel it off the clothing. Peel it away slowly and carefully to make sure that all of the design remains on the fabric.